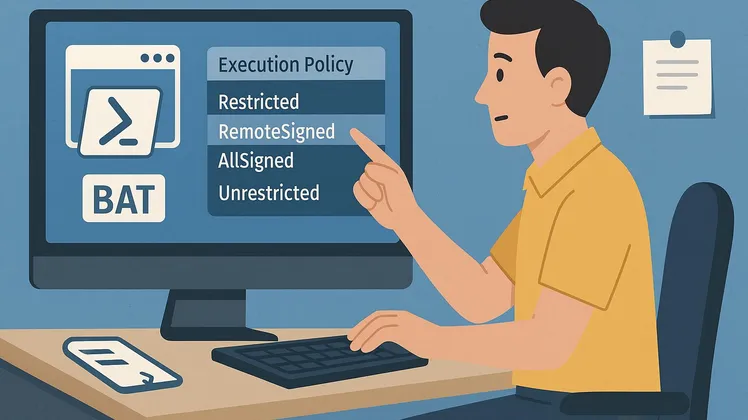
バッチファイルでPowerShellの実行ポリシーを設定する方法【自動化向け】
/ 4 min read
View more blogs with the tag IT・AI活用 - 使い方・手順 , View more blogs with the tag IT・AI活用 - セキュリティ , View more blogs with the tag ITスキル , View more blogs with the tag Microsoft Windows 10 , View more blogs with the tag Microsoft Windows 11 , View more blogs with the tag PowerShell , View more blogs with the tag スクリプト , View more blogs with the tag セキュリティ , View more blogs with the tag バッチファイル , View more blogs with the tag 入門 , View more blogs with the tag 実行ポリシー , View more blogs with the tag 業務効率化 , View more blogs with the tag 自動化
Table of Contents
この記事で扱う内容
この記事では、バッチファイルでPowerShellの実行ポリシーを設定する方法についてご紹介します。
 参考記事PowerShellスクリプトが実行できないときの原因と対処法【実行ポリシーに注意】
前提
前提知識・前提スキル
- Windows OS の基本操作ができる人
前提環境
- 使用PC
- OS が Windows 10または 11であること
- PowerShell 5.1がインストールされていること(Windows 10または11標準搭載)
バッチファイルでPowerShellの実行ポリシーを設定する方法
バッチファイルの作成
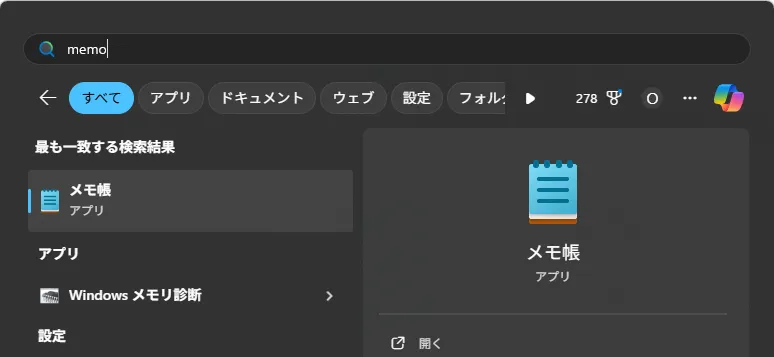
メモ帳を起動する
スタートメニューで「memo」を検索後、「メモ帳」を選択し起動する
メモ帳にコマンドを貼り付け、任意の場所に保存する
例)D:\Bat\set_execution_policy_currentuser_remotesigned.bat
@echo offecho PowerShellの実行ポリシー(CurrentUser)を RemoteSigned に設定します。powershell -Command "Set-ExecutionPolicy RemoteSigned -Scope CurrentUser -Force"
echo.echo 設定後の実行ポリシー(全スコープ)を確認します:powershell -Command "Get-ExecutionPolicy -List"
pause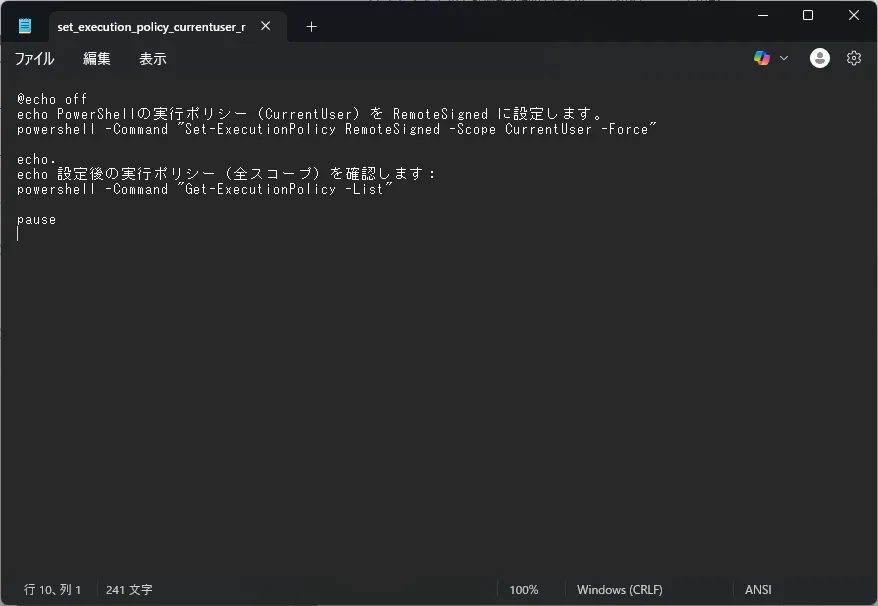
バッチファイルの実行手順

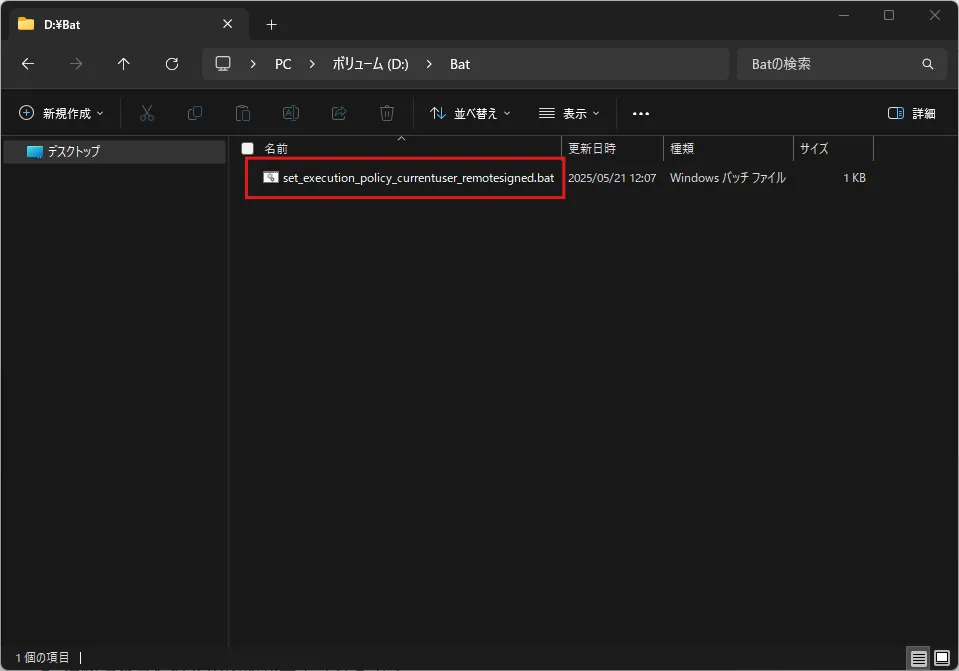
バッチファイルを実行する
エクスプローラーでバッチファイルの保存先を開き、バッチファイルをダブルクリックする
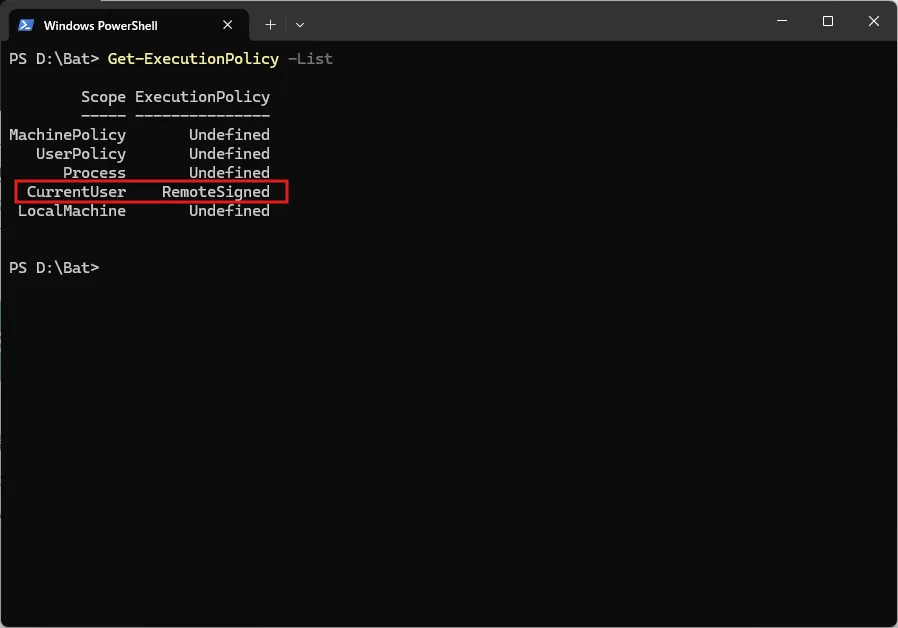
PowerShell実行ポリシーの設定状況が表示されるため、問題ないことを確認後、開いたウィンドウ上で任意のキーを押し、ウィンドウを閉じる
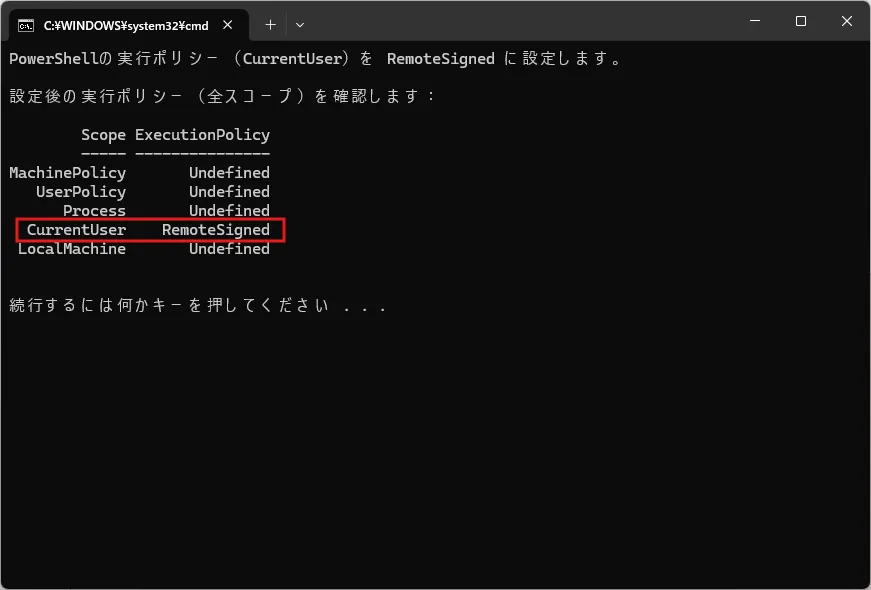
バッチファイルの実行結果
- 「現在のユーザー(CurrentUser)」のPowerShell実行ポリシーが「RemoteSigned」に設定される