

PowerShellで複数のExcelファイルを一括検索する方法【ログ出力・エラー処理付き版】
/ 7 min read
View more blogs with the tag IT・AI活用 - 使い方・手順 , View more blogs with the tag ITスキル , View more blogs with the tag Microsoft Excel , View more blogs with the tag Microsoft Office , View more blogs with the tag Microsoft Windows 10 , View more blogs with the tag Microsoft Windows 11 , View more blogs with the tag PowerShell , View more blogs with the tag スクリプト , View more blogs with the tag 実践 , View more blogs with the tag 業務効率化 , View more blogs with the tag 自動化
Table of Contents
この記事で扱う内容
以下の記事でご紹介したPowerShellスクリプトの応用版です。ログ出力やエラー処理を加えています。
 参考記事PowerShellで複数のExcelファイルを一括検索する方法【Microsoft Officeインストール前提】
前提
前提知識・前提スキル
- Windows OS の基本操作ができる人
前提環境
- 使用PC
- OS が Windows 10または 11であること
- PowerShell 5.1がインストールされていること(Windows 10または11標準搭載)
- PowerShellの実行ポリシーで、PowerShellスクリプトの実行が許可されていること
- PowerShell ISEがインストールされていること(Windows 10または11標準搭載)
- Microsoft Excelがインストールされていること
今回は、COM (Component Object Model)という仕組みを使用します。
Excelさんが「別のプログラムから自分を操作できるようにしている」ので、それを使うという感じです。
 参考記事PowerShellスクリプトが実行できないときの原因と対処法【実行ポリシーに注意】
PowerShellでExcelファイルの中身を一括検索する方法
スクリプトの作成

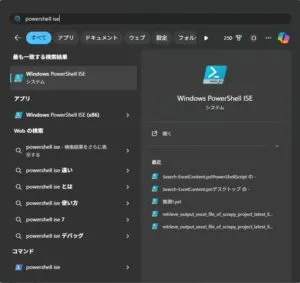
PowerShell ISEを起動する
スタートメニューで「powershell ise」を検索後、「Windows PowerShell ISE」を選択し起動する
PowerShell ISEのスクリプトウィンドウにコードを貼りつけ、任意の場所に保存する
例)D:\PowerShellScript\Search-ExcelContent.ps1
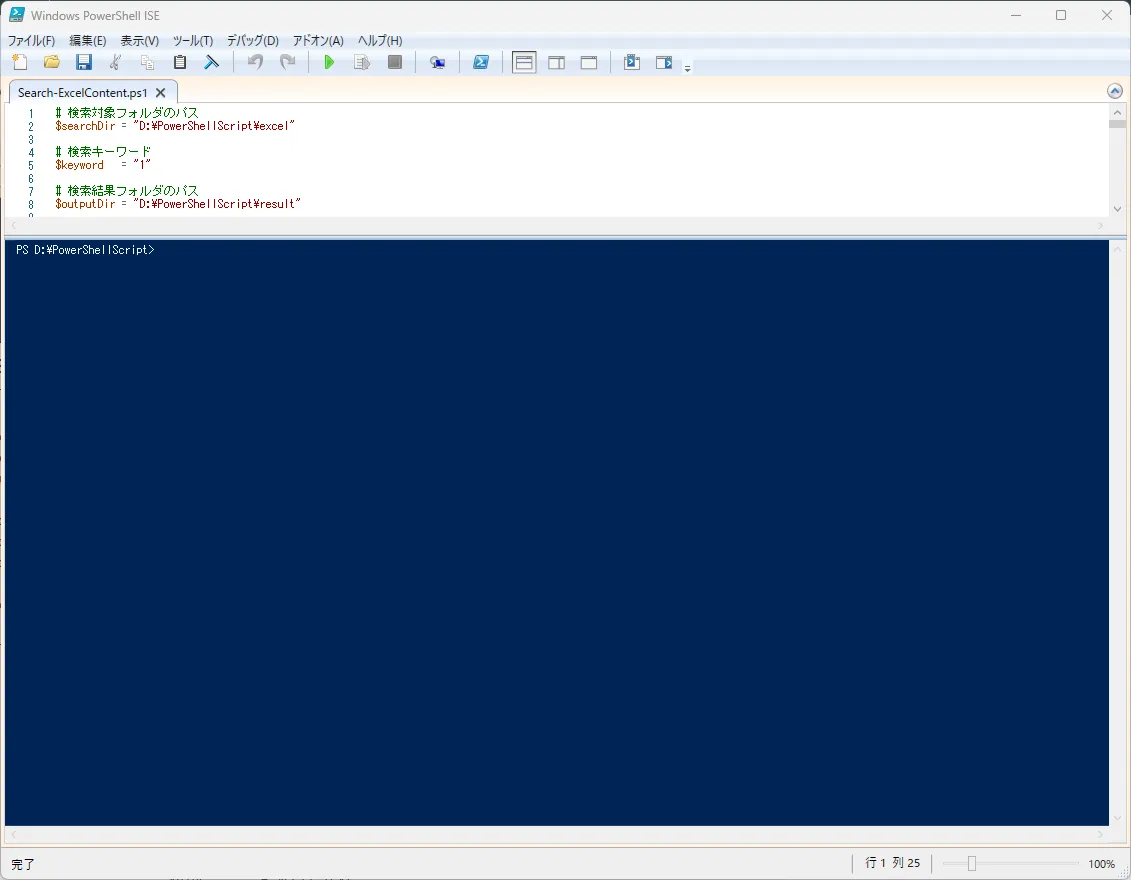
# 検索対象フォルダのパス$searchDir = "検索対象のExcelファイルを格納しているフォルダパス(D:\PowerShellScript\excel)"
# 検索キーワード$keyword   = "検索対象のキーワード(例:1)"
# 検索結果フォルダのパス$outputDir = "検索結果Excelファイル・ログファイルの出力先フォルダパス(例:D:\PowerShellScript\result)"
# 検索結果出力フォルダ(必要に応じて存在確認して作成)if (-not (Test-Path $outputDir)) {    New-Item -Path $outputDir -ItemType Directory | Out-Null}
# タイムスタンプ付きの検索結果ファイル名$timestamp = Get-Date -Format "yyyyMMdd_HHmmss"$outputFile = "$($timestamp)_search_result.xlsx"$outputPath = Join-Path -Path $outputDir -ChildPath $outputFile$logFile = Join-Path -Path $outputDir -ChildPath "log_$($timestamp).log"
# ログ出力関数(画面表示+ログファイル)function Write-Log {    param([string]$message)    $time = Get-Date -Format "yyyy-MM-dd HH:mm:ss"    $line = "[$time] $message"    Write-Host $line    Add-Content -Path $logFile -Value $line}
# 実行条件表示Write-Log "検索キーワード: $keyword"Write-Log "対象フォルダ: $searchDir"Write-Log "検索結果ファイル: $outputPath"Write-Log "ログファイル: $logFile"
$excel = $null$results = @()
try {    $excel = New-Object -ComObject Excel.Application    $originalVisible = $excel.Visible    $originalAlerts = $excel.DisplayAlerts
    $excel.Visible = $false    $excel.DisplayAlerts = $false
    Get-ChildItem -Path $searchDir -Include *.xlsx, *.xls -Recurse | ForEach-Object {        $file = $_.FullName        $workbook = $null        Write-Log "処理中: $file"        try {            $workbook = $excel.Workbooks.Open($file, $null, $true)            foreach ($sheet in $workbook.Sheets) {                $usedRange = $sheet.UsedRange                foreach ($row in $usedRange.Rows) {                    foreach ($cell in $row.Columns) {                        $value = $cell.Text                        if ($value -and $value -like "*$keyword*") {                            $results += [PSCustomObject]@{                                FilePath    = $file                                Sheet       = $sheet.Name                                CellAddress = $cell.Address()                                Value       = $value                            }                        }                    }                }            }        } catch {            Write-Log "ファイル処理エラー: $_"        } finally {            if ($workbook) { $workbook.Close($false) }        }    }
    # 検索結果をExcelに出力    if ($results.Count -gt 0) {        $resultWorkbook = $excel.Workbooks.Add()        $resultSheet = $resultWorkbook.Sheets.Item(1)        $resultSheet.Name = "検索結果"
        # ヘッダー        $resultSheet.Cells.Item(1, 1).Value2 = "ファイルパス"        $resultSheet.Cells.Item(1, 2).Value2 = "シート名"        $resultSheet.Cells.Item(1, 3).Value2 = "セル位置"        $resultSheet.Cells.Item(1, 4).Value2 = "一致した値"
        # データ出力        for ($i = 0; $i -lt $results.Count; $i++) {            $resultSheet.Cells.Item($i + 2, 1).Value2 = $results[$i].FilePath            $resultSheet.Cells.Item($i + 2, 2).Value2 = $results[$i].Sheet            $resultSheet.Cells.Item($i + 2, 3).Value2 = $results[$i].CellAddress            $resultSheet.Cells.Item($i + 2, 4).Value2 = $results[$i].Value        }
        # 保存して閉じる        $resultWorkbook.SaveAs($outputPath)        $resultWorkbook.Close($false)
        # 結果ファイルを自動で開く        Invoke-Item -Path $outputPath        Write-Log "検索結果をExcelに出力しました。"    } else {        Write-Log "一致するデータは見つかりませんでした。"    }
} catch {    Write-Log "エラーが発生しました: $_"} finally {    if ($excel) {        $excel.Visible = $originalVisible        $excel.DisplayAlerts = $originalAlerts        $excel.Quit()        [System.Runtime.Interopservices.Marshal]::ReleaseComObject($excel) | Out-Null        [GC]::Collect()        [GC]::WaitForPendingFinalizers()    }    Write-Log "処理が完了しました。"}
スクリプトの実行手順

検索対象のExcelファイルを任意のフォルダへ格納する
例)D:\PowerShellScript\excel
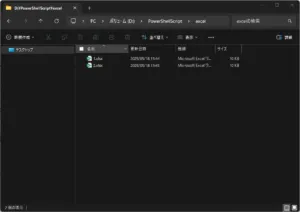
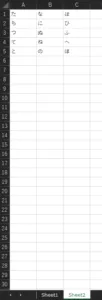
今回は例として、2ブック×2シートのExcelデータを用意しました。
1.xlsx

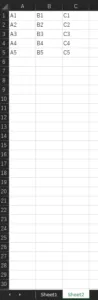
2.xlsx

検索結果Excelファイルの出力先フォルダを準備する
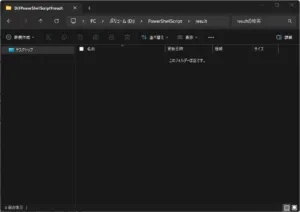
例)D:\PowerShellScript\result
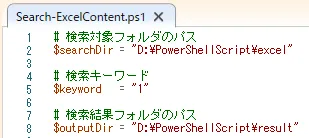
コード内の設定用変数に値を設定する
| No | 設定用変数 | 設定値 | 例 |
|---|---|---|---|
| 1 | $searchDir | 検索対象のExcelファイルを格納しているフォルダパス | D:\PowerShellScript\excel |
| 2 | $keyword | 検索対象のキーワード | 1 |
| 3 | $output | 検索結果Excelファイル・ログファイルの出力先フォルダパス | D:\PowerShellScript\result |
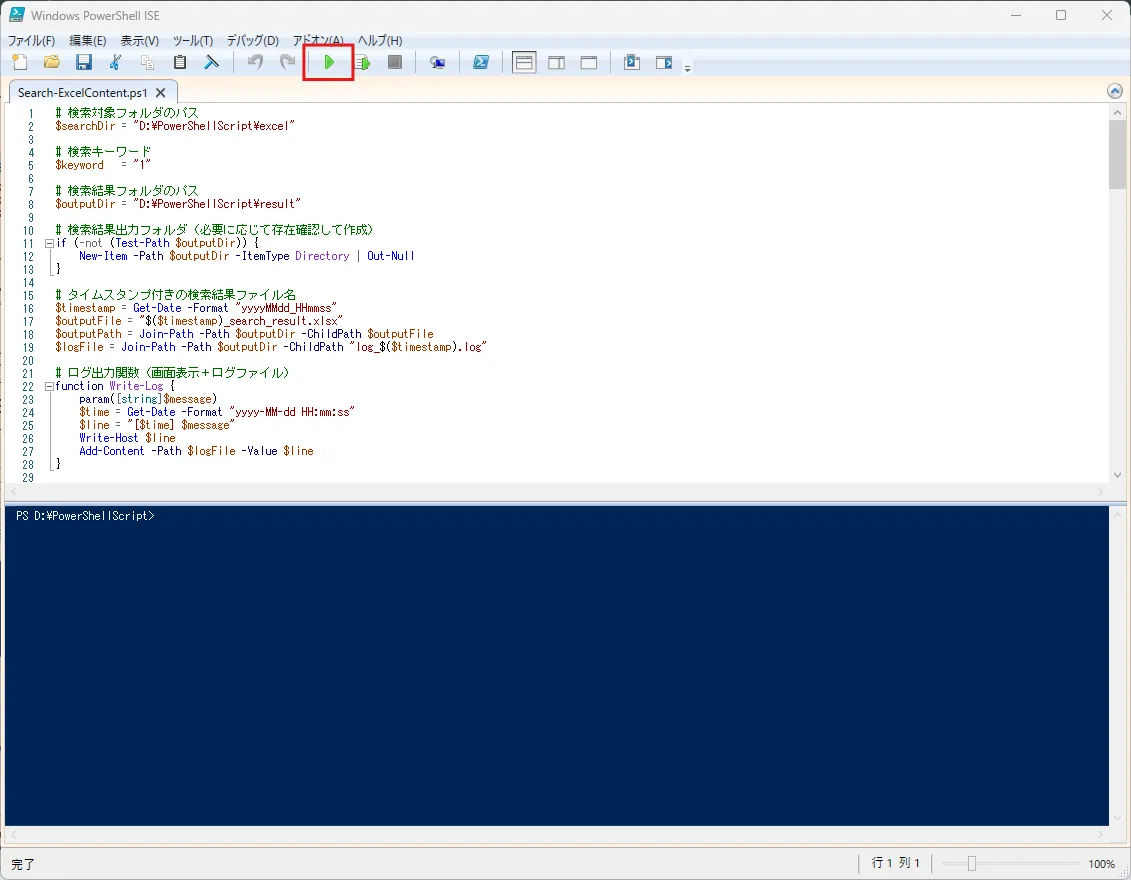
スクリプトを実行する
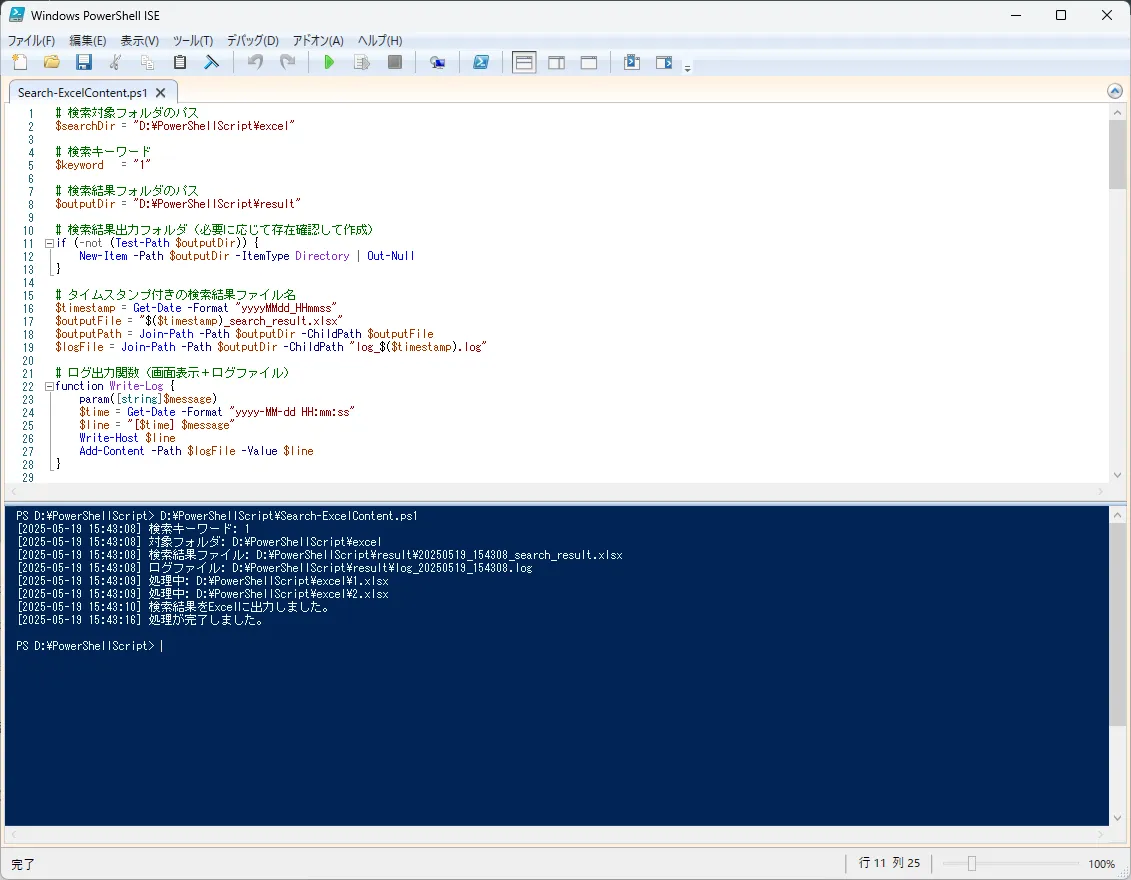
スクリプトの実行方法には色々な方法がありますが、今回は「PowerShell ISE」の「スクリプトを実行」ボタンを押して実行します。
 参考記事PowerShellスクリプトが実行できないときの原因と対処法【実行ポリシーに注意】
スクリプトの実行結果

-
実行時ログがコンソールに出力されます。
-
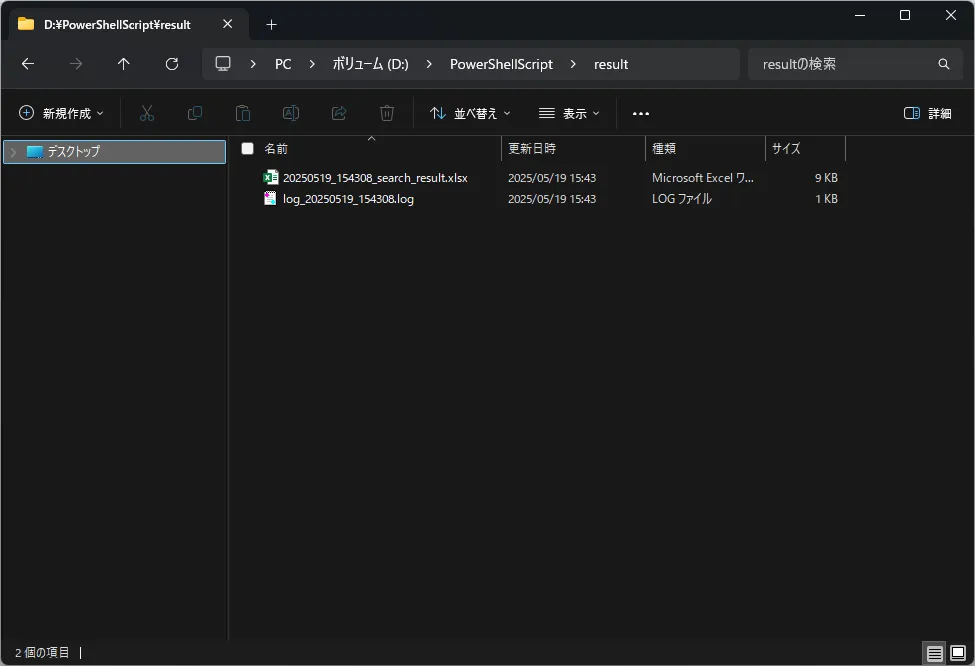
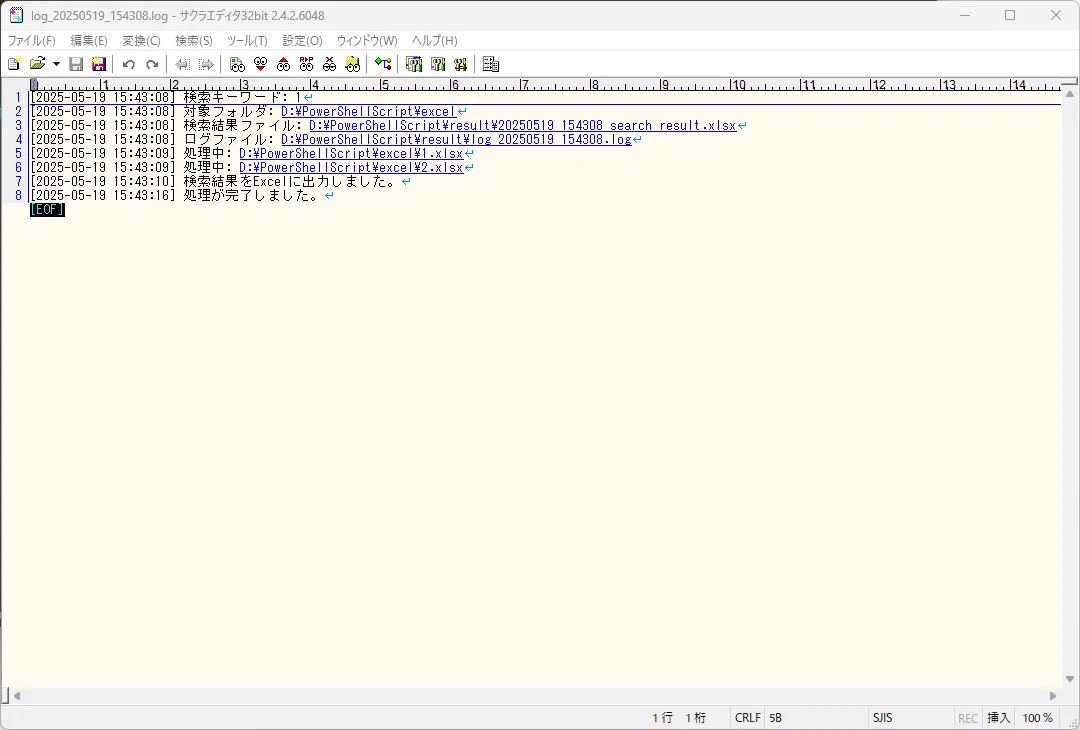
実行時ログのログファイルが出力先フォルダに出力されます。
-
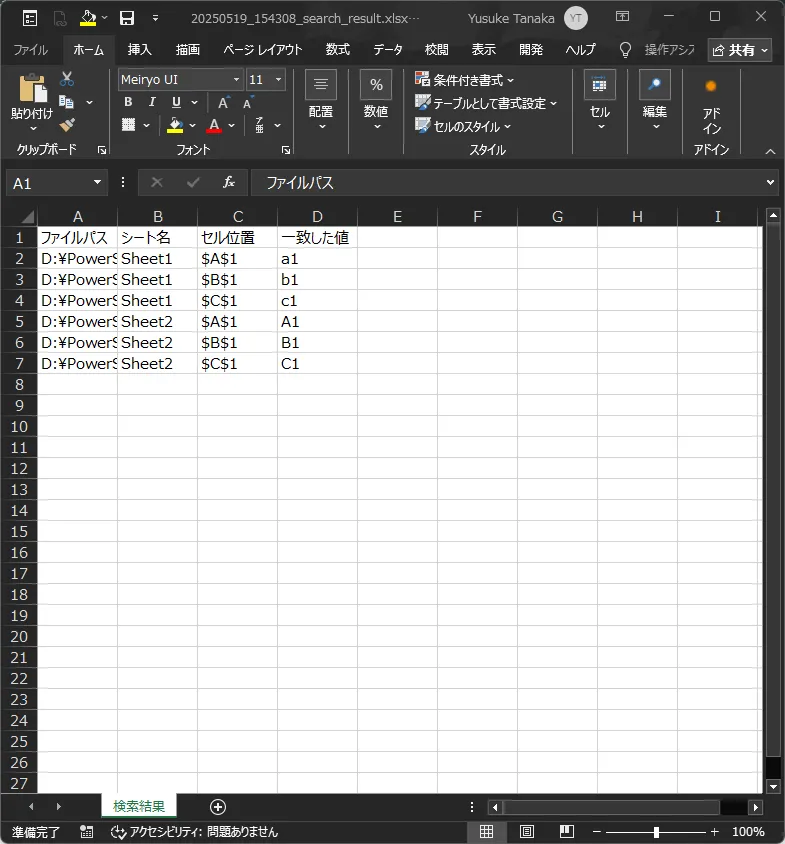
検索結果Excelファイルが出力先フォルダに出力され、自動で開きます。
おすすめの関連記事
 参考記事バッチファイルでPowerShell実行ポリシーを一時的に設定しつつ、Excel一括検索スクリプトを実行する方法