
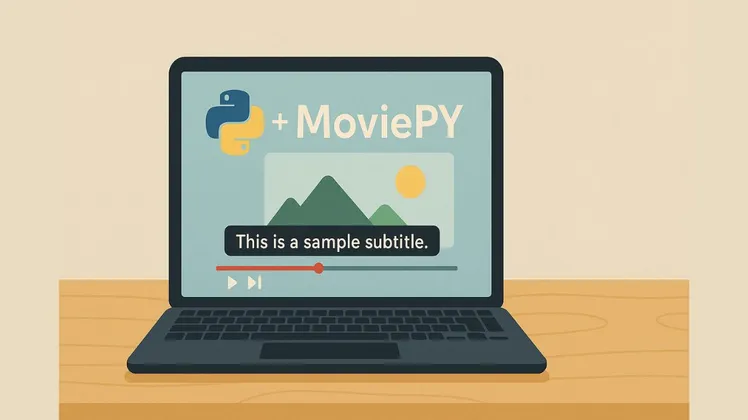
【副業実験記#9】Python+MoviePyで字幕付きの動画を自動生成してみた話
/ 7 min read
View more blogs with the tag 副業実験記 , View more blogs with the tag ChatGPT , View more blogs with the tag FFmpeg , View more blogs with the tag ImageMagick , View more blogs with the tag ITスキル , View more blogs with the tag Microsoft Windows 11 , View more blogs with the tag MoviePy , View more blogs with the tag PyCharm , View more blogs with the tag Python , View more blogs with the tag venv , View more blogs with the tag スクリプト , View more blogs with the tag 仮想環境 , View more blogs with the tag 副業 , View more blogs with the tag 字幕 , View more blogs with the tag 実践 , View more blogs with the tag 業務効率化 , View more blogs with the tag 自動化
Table of Contents
 参考記事【副業実験記#8】Python+MoviePyで動画を自動生成してみた話
つづき。
はじめに
引き続き、雑学動画自動生成ツールを自作できないか、検討してみているお話です。
今回は、前回の記事の続きで、動画を自動生成できるPythonライブラリ「MoviePy」で字幕付きの動画を生成できるか検証してみた話です。
検証準備
前回記事の「検証準備」に加えて、以下の準備をします。
 参考記事/sidejob-experiment-journal-8-moviepy/
フォントファイルの準備
字幕のフォントを指定できるようなので、フォントファイルを準備します。
今回は、Googleフォントの「Noto Sans Japanese」を使います。
検証してみた
前回の記事の流れの中で、テキストをTextClipとして準備し、画像のImageClipに音声と音楽(BGM)のCompositeAudioClipを合わせるところで、そのテキストも含めてVideoClipを作成するだけです。
参考記事/sidejob-experiment-journal-8-moviepy/
MoviePyを使ったPythonサンプルコード
from moviepy.editor import *
# ファイルパスimage_path = "output.png"voice_path = "output.wav"bgm_path = "escort.mp3"output_path = "output_video.mp4"
# 音声クリップの読み込みvoice_clip = AudioFileClip(voice_path)bgm_clip = AudioFileClip(bgm_path).volumex(0.3)  # BGMの音量を30%に調整(お好みで)
# BGMの長さをナレーション音声に合わせてトリミング or ループbgm_clip = bgm_clip.set_duration(voice_clip.duration)
# 音声とBGMをミックスmixed_audio = CompositeAudioClip([bgm_clip, voice_clip])
# 画像を読み込み、音声の長さに合わせて表示時間を設定image_clip = ImageClip(image_path).set_duration(voice_clip.duration)
# 字幕テキストの作成(1行表示、中央下)subtitle = TextClip(    "こんにちは、\n今日はいい天気ですね。",    fontsize=24,    color="white",    stroke_color="black",    stroke_width=1,    font=r"NotoSansJP-Regular.ttf",    method="label").set_position(("center", "bottom")).set_duration(voice_clip.duration)
# 動画の合成(画像+字幕)video = CompositeVideoClip([image_clip, subtitle]).set_audio(mixed_audio)
# 出力(fps=24が一般的)video.write_videofile(output_path, fps=24)
この中の以下の部分が前回のコードと変更した部分です。
# 字幕テキストの作成(1行表示、中央下)subtitle = TextClip(    "こんにちは、\n今日はいい天気ですね。",    fontsize=24,    color="white",    stroke_color="black",    stroke_width=1,    font=r"NotoSansJP-Regular.ttf",    method="label").set_position(("center", "bottom")).set_duration(voice_clip.duration)
# 動画の合成(画像+字幕)video = CompositeVideoClip([image_clip, subtitle]).set_audio(mixed_audio)
Pythonサンプルコード実行結果
D:\PyCharmProjects\MoviePyTest\.venv\Scripts\python.exe D:\PyCharmProjects\MoviePyTest\image_and_audio_and_text_to_video.pyMoviepy - Building video output_video.mp4.MoviePy - Writing audio in output_videoTEMP_MPY_wvf_snd.mp3t:   0%|          | 0/61 [00:00<?, ?it/s, now=None]MoviePy - Done.Moviepy - Writing video output_video.mp4
Moviepy - Done !Moviepy - video ready output_video.mp4
プロセスは終了コード 0 で終了しました
サンプルコードで生成された動画
おわりに
「MoviePy」ですが、「ImageMagick」をインストールしておけば、字幕付きの動画を自動生成できることが分かりました。
ただ、字幕(白フチ文字)は付けられたものの、思ったようなデザインにならず・・・。
字幕は、この機能ではなく、画像テキストを背景画像に埋める方法を採用するかもしれません。
とりあえず、MoviePyで字幕を付けた場合のことが色々と分かったので、次の技術やツールの検証に移ろうと思います。
(今回も検証用のコードは、ChatGPT(GPT-4oモデル)に出力してもらったものを微修正したものです)
今回の記事も、同じように副業に悩んでいる人、手探りで取り組んでいる人にとって、何かの参考になれば嬉しいです。
これからも記録を続けていく予定なので、よければフォローしてもらえると嬉しいです。
つづき。
 参考記事【副業実験記#10】Python+Pillowで黒フチのテキスト画像を生成してみた話